Hey guys!!! This tutorial was done inside our teachers office last Wednesday, we were done with our grades so we were like dilly dallying. I wanted to be the mad scientist and Teachers Pia and Leoann were willing to be my experiments (laughing)!!!
Please bear with me, I am not a professional makeup artist, still learning and willing to try and experiment.
Teacher Pia's Look
Pia wants a simple and neutral makeup, more like a fresh daytime look.


Apply Faceshop's Hydro Splash BB cream, gives a natural coverage.
 |
| the result |

Use concealer to cover under eye circles and dark spots.
(elf under eye concealer)

Apply Urban Decay's eye primer potion to prevent eyeshadow from fading, creasing and smudging.
FYI: Creases are the result of movements of the eyelid that are the
result of simply blinking and normal eye movements. Eyeshadow primer
works to keep these creases from appearing and can also help to boost
the vibrancy of the eyeshadow color.

 |
| After applying BB cream, concealer and eye primer, you can already see a sheer coverage. |
Let's start with mixing the highlighter and the pinkish shade to achieve a softer look. Apply it all over the lid.

Apply the gold shade (*) mostly on the center part of the lid.

After applying, go back again using a fluffy brush to blend the highlighter and the gold shade. Use a darker shade of brown (first column, fourth color from left to right ) on the outer V corner of the eye going upwards blending all the colors together to create a more dimensional and clean look. I forgot to take a picture of the eyeliner that I used, the elf waterproof eyeliner gel pen sorry :(
To create a blooming look, I used Human Nature's mineral blush in Petal Bloom.

I want to make Pia's eyes more awake. I used VS white eyeliner pencil and stila's eye liner on her lower lash line.

THE FINAL RESULT!!!


 |
| LIGHT MAKE UP LOOK |

Model number 2
Teacher leoann known as Guo Lao Sher.
A simple/pretty girl, rarely wears makeup. I wanted to try "the edgy" look on her. Best for parties and night occasions.


OK, I started with Faceshop's HD (high definition) BB cream, applied eye concealer and Human Nature's face powder in Orient Pearl.

All covered up, you can see a flawless finish. Don't worry BB creams can moisturize your face, has SPF and can cure blemishes (blemish balm), more like an age rewinder.

Thickly apply stila's (shown above) eye gel liner pencil, just like applying eyeliner.

I used Lancome's sensational effects eye shadow in metallic, applying it to the center of her lid.

Use blending brush to blend the eyeliner and the eyeshadow.

Curl lashes with eyelash curler and apply mascara.
For the lower lashes, use white eye pencil and black eyeliner pen to make eyes more fresh and awake.

Lightly apply Human Nature's mineral blush in rosy cheeks
Lips number 1
light pink color and a neutral gloss


Lips number 2
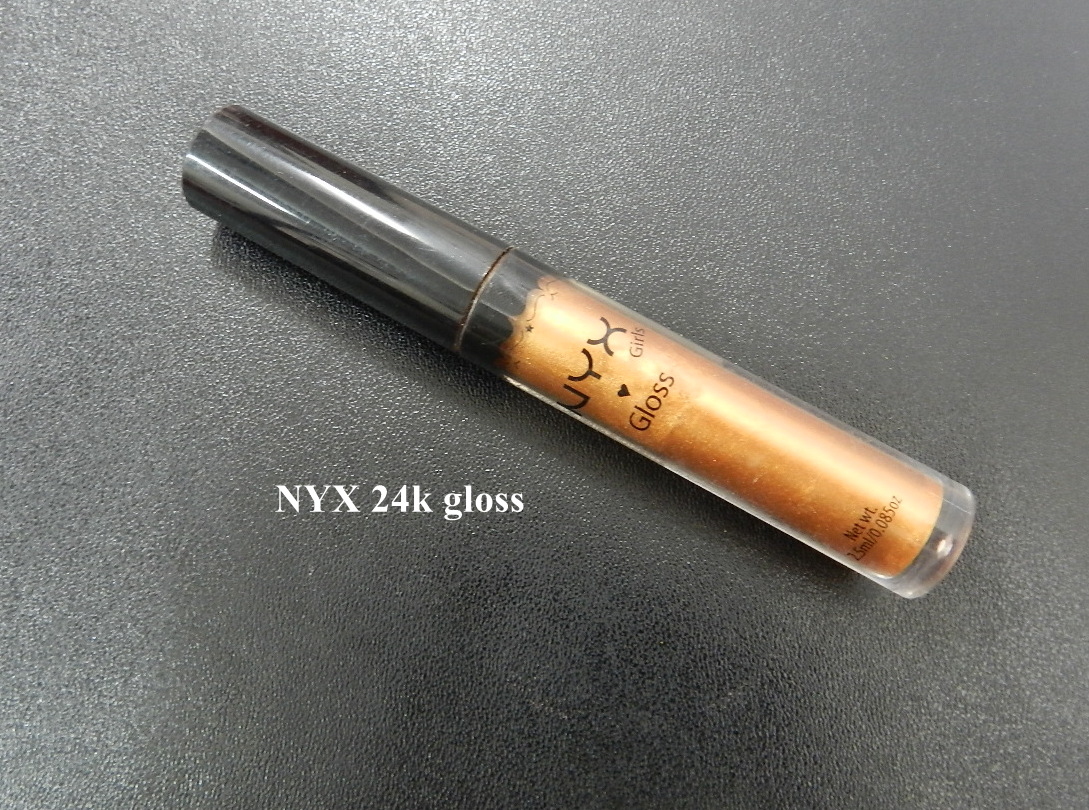
NYX 24k gloss


THE FINAL RESULTS!!!
 |
| USING LIGHT PINK LIPSTICK AND MAC GLOSS |
 |
| USING NYX 24K GLOSS |
Whew! so thats it. Simple light day makeup (Pia) and edgy smokey eyes look (Leoann). I would like to thank the girls for being so patient and willing to be a part of the makeup process. I also want to thank my cousin, shawie who generously gives me free products and
never fails to teach me the tips and tricks about makeup.
Have a great day,
Lovegigi16